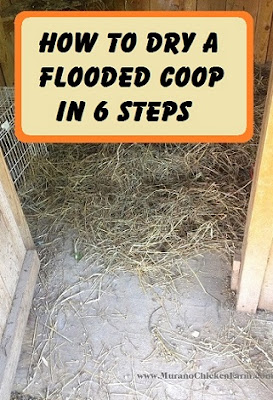
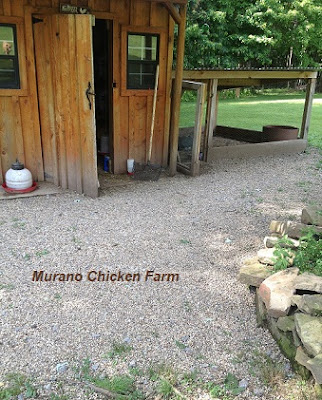
The rain came so fast and furiously even the French drain failed and we were left with a huge mess to clean up.
First thing I did was scrape all the water out the door using a small shovel (and my feet...but hey, I was desperate!) Then I pushed the wet bedding onto the rubber mat that covers the back half of the coop. I let it spend the night back there....it was too late at that point, but the real work was to come in the morning!
It's not an easy task and it smelled just awful, but here is the process we used to fix the mess.
How to dry out a wet chicken coop
1) Get as much of the water out of the coop as you can. Snow shovels are flat and wide so they'll push a lot of water at once.
2) Remove old bedding. It's stinks and is ridiculously heavy, but it needs to go!
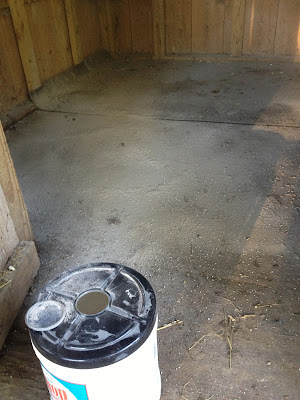
3) Scrape the floor. I used a kids plastic snow shovel to scrape the floor from one end to the other. I also used a plastic paint scraper to get along the edges, in corners and other crevices. It had been wet all night so it had turned to mush by morning. Gross!
4) Let the coop air out as long as possible. You can add a fan or in the winter we've used a torpedo heater to dry it up. (make sure the chickens can't get in the coop if using a heater!) Even when it looks dry, remember that it could be wet underneath the coop also and the added drying time can really help the health of the wood in the long run.
5) Once the coop is dry, put down a mixture of Diatomaceous Earth and Barn lime. I use an old shop towel container to mix it up and shake it out all over the floor. Try to coat evenly.
6) Finally add your bedding to the dry coop and you're good to go.
You'll want to keep an eye on it and consider installing a French drain or other runoff solution if your coop floods frequently. We did add a French drain a few weeks ago since we regularly had slight flooding.
It has been able to handle the rains since then but this last one was just too much for anything to handle!
Even our pond flooded out. It looked like a river was running down the trail in the woods! Talk about extreme weather. It's supposed to rain again this week. I really hope it doesn't rain that hard again!
Want to know more about building and maintaining a chicken coop? Click here for my other posts on everything you ever wanted to know about chicken coops!
~L
Update: this coop ended up flooding often because of its where it was built. Unfortunately, location was our Biggest Mistake Building the Coop.
Want information on raising chickens sent right to your email weekly? Click right here to join my list and get new posts sent directly to you the day they're published. You'll also get the free download 25 Ways to save money raising chickens.


Great info! Thanks!
ReplyDeleteYour welcome. Thanks for stopping by!
Delete~L
This was so interesting to read. I live in the city, and I always forget how much work it is to raise livestock.
ReplyDeleteHeidi’s Wanderings
Thanks Heidi! They are a lot of work sometimes...but so worth it!
Delete~L
We live in the high desert so luckily we never have t do that! Just shovel the snow once or twice a winter...
ReplyDeleteWe could definitely use some dry weather here this week....want to send some this way? LOL
Delete~L
Sorry to hear about all your flooding. We are getting it pretty bad here in Southeastern and Central Oklahoma The real fun will be a couple more days from now when additional rains take some of these rivers over the crest. Since you seem to get quite a bit of rain and flooding, are you contemplating moving your chicken coop? Or is the cost to do so more expensive than the inconvenience of having to clean up afterwards?
ReplyDeleteAt this point I don't think we can move the coop. The coops we've built since then are on higher ground though, so at least only one coop has this problem! Good luck with the rains....hopefully it will be over soon!
DeleteLisa
I feel your pain. We've had our wettest summer in a long time. I built my new coop on the low end of a concrete pad without realizing it and continual caulking and drying out has kept me busy. I use a shopvac to really suck out the water that gets stuck in nooks and crannies. Wood pellet bedding is a godsend too. It holds alot more water than shavings and is much easier to shovel out. Composts faster, too. Diatomaceous earth is a must because bird mites love moisture.
ReplyDeleteI will have to try out the wood pellet bedding...thanks for the tip! The drying out is tedious and I swear I've gone through an entire bag of DE in that coop alone! I really hope the rains end soon, this yearly game is getting old.
DeleteLisa
How is barn lime different from garden lime?
ReplyDeleteGood question! Garden lime and Barn lime are the same thing.. crushed up limestone aka Calcium Carbonate. Hydrated lime aka Calcium hydroxide is very caustic, toxic and hazardous to handle and breathe. So you could use barn lime or garden lime in and around your coop, but do not use the lime builders use as it would be harmful to your chickens!
DeleteLisa
We have a cement floor, and I'm a firm believer in using washed, construction grade sand in the coop. I'm in Oregon, I know about constant rain, mud, and flooding, and the sand has been life changing. Super fast clean up and dry-out time when my coop roof sprung a leak. Diatomaceous Earth isn't exactly as safe as people think it is, so I'd be cautious with that stuff.
ReplyDeleteSee, I had the exact opposite experience with sand. It would not dry out ever and ended up rotting the wood. I'm glad it works for you though!
DeleteLisa